You own a garden and don’t face any difficulties that can’t happen. The most common problem we face here is leaking the hose. What is the most annoying thing to you if the hose nozzle turns back and sprays over your face?
I know this is the most nagging part of using a garden hose. A leak garden hose is a waste of water as well. Before shut of the water flow, you got soaked all over you. This leaking happens usually when you go to water your garden. The most common problem we face here is leaking the hose.
So, if you find your hose leaked, don’t rush to throw it to the dustbin. There are a few notions for you to save money. I will introduce those easy and less costly tricks by using some of our daily necessary tools. So before taking the next step, make sure that the threads on the faucet and on the hose are clean.
The time you spot a leak in your garden hose, don’t panic. Find out if the leak is in the middle of where the hose is connected to the faucet. Most leaks can be fixed and I will tell you how to fix the leaking garden hose connector. Let’s look at how to aim each of these scenarios before you buy another one.
The materials you will need to fix it: screwdriver, hose repair kit, and utility knife. You can find these tools along with other gardening tools in your near hardware shops.
Steps to Follow to Fix the Hose Leak
So now, I will tell you the steps you will need to follow to fix your garden hose connector. Before starting the job makes sure the threads are clean. Because maybe you didn’t use it since winter. So let’s see the content on how to fix a leaking garden hose connector.
Step 1
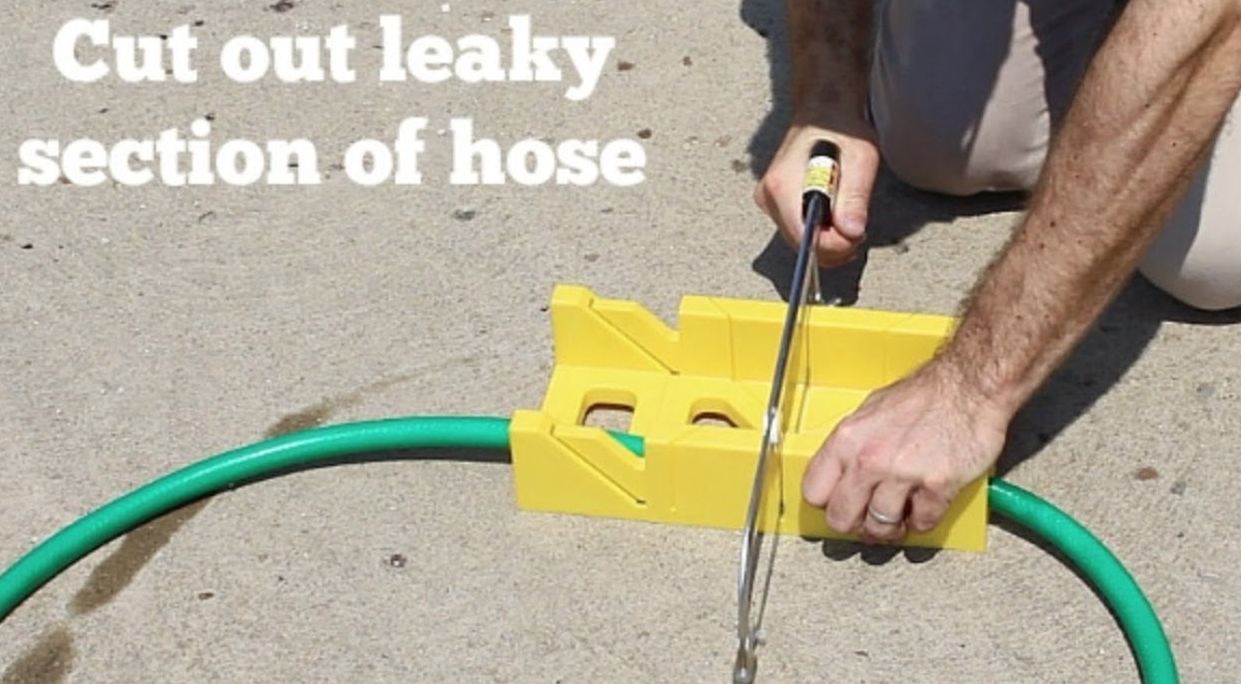
You have to cut off the hose smoothly as long as you need to remove it. The cut should be straight not ragged or uneven. Lay the hose on the ground and pressurized it with your hand to cut it properly. You should cut it a few inches back from the bad spot.
Step 2
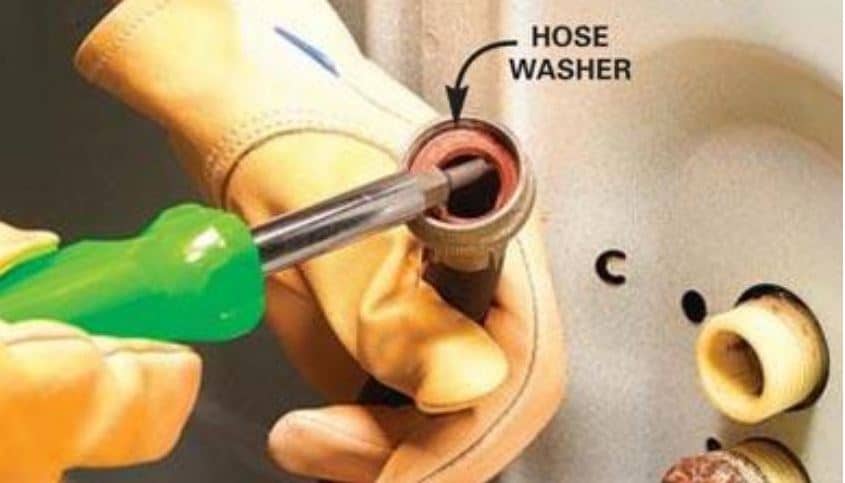
Replace the rubber hose washer inside the female end of the connector. Make sure the sleeve goes all the way into the hose and it has a good rubber seal. Insert the new male end into the hose by hand. If the new end falls that means you got the wrong size.
Step 3
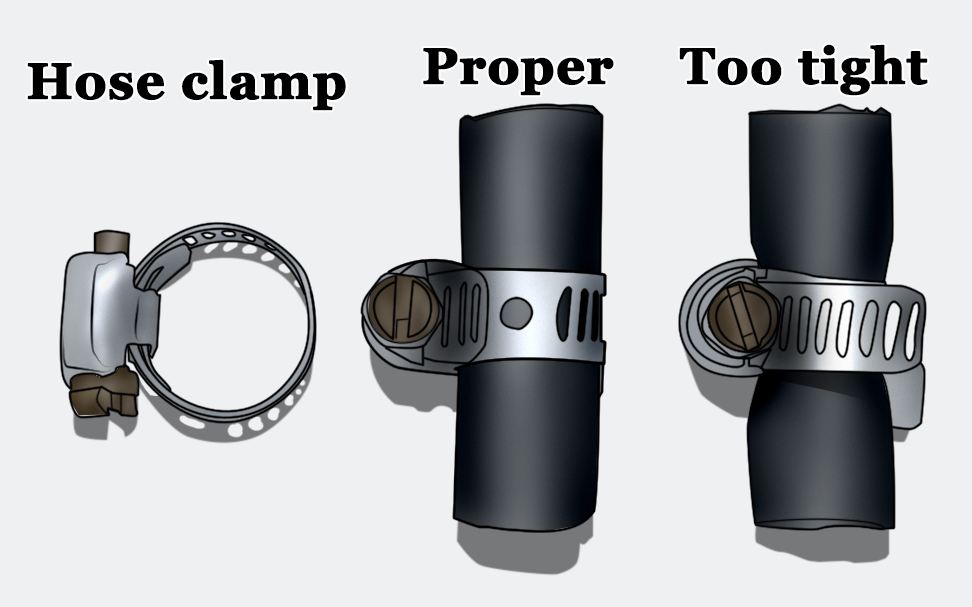
Take a screwdriver and attached the clamp onto the hose. Tighten the clamp and test if any leak still occurs. Slide the clamp up to one or four inches from the end. Insert both screw and tighten the two halves at the same time.
Step 4
Change the gasket with O-ring for a better experience. And now, you are done with the hose connector to back in your business. Just turn on the water to check if it is working or not.
If the Garden Hose Leaking at the Nozzle
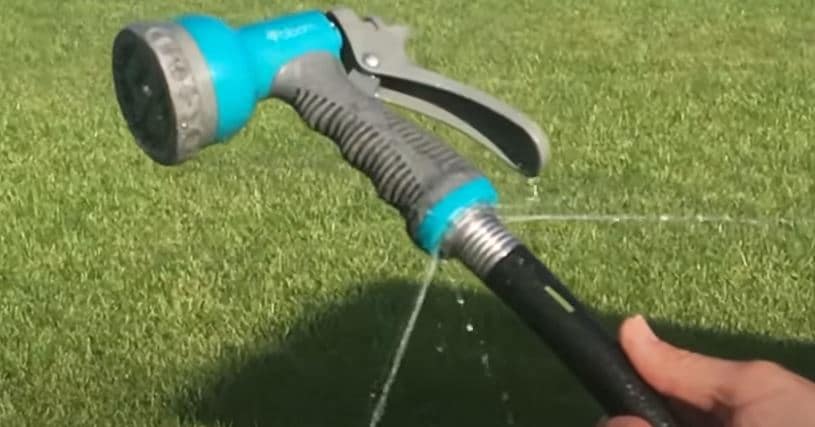
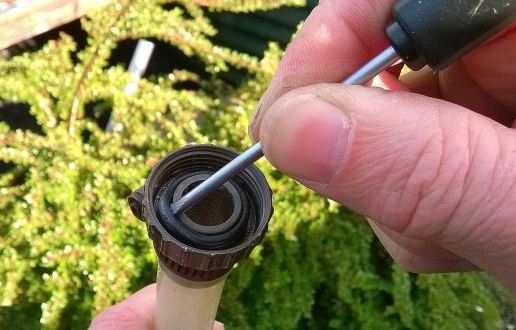
When it’s about nozzle you have to follow some simple step by using just two materials that is Hose washer and a Flathead screwdriver.
- At first, you have to remove the nozzle from the hose.
- Find the spot where the threads are located and if the problem is in rubber washer there is nothing to do. You have to replace it immediately.
- Just take aside the old hose washer.
- Clean the hose ends. Fill the gaps between threads of pipe with Teflon tape or Plumber tape as long as the hose needs to wrap twice.
- Place new washer into the base of the nozzle so it is resolutely seated at the bottom of the threads. You can use screw driver to tighten it.
- The thing you need to do at last, just test if it is working properly or not.
If It is Leaking From Faucet
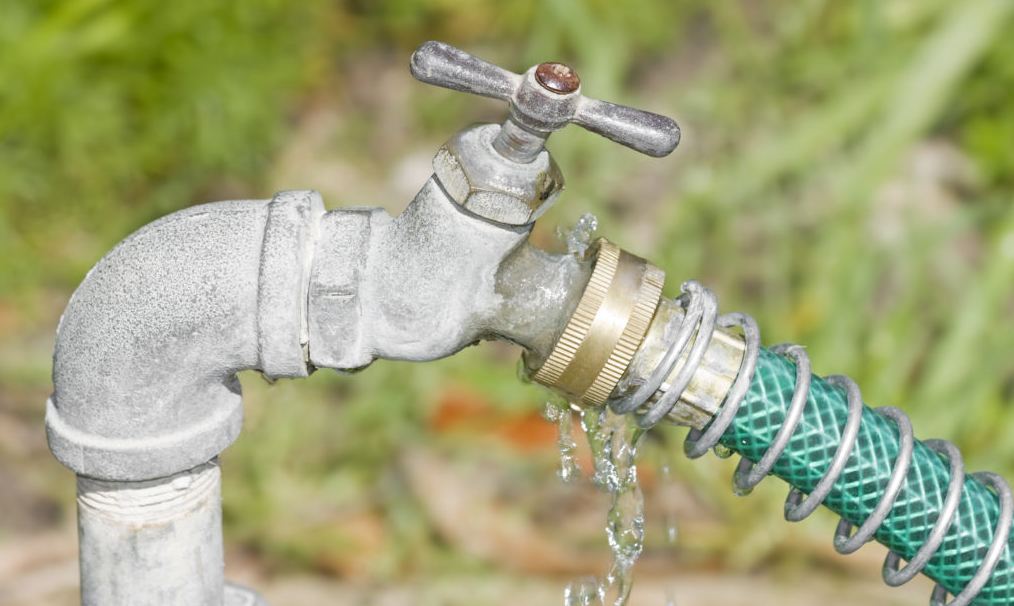
There are two reasons for the leak on a faucet can occur. The first one is when the water drips continuously from the tap. And another one happens when water seeps out behind the handle when the tap is off.
- At first, turn off the stream of water or main water supply from the source and tighten the packing nut with a wrench.
- If the previous idea doesn’t work, lose the packing nut and pull it away from the hose. Push the packing nut in place after wrapping it with 8 inches plumber Tape and tighten again.
- When the water is continuously dripping from the tap when out faucet is close, remove the valve assembly by loosening the packing nut with a wrench.
- On the other hand, if the water is seeping around tighten the locking nut and wrap some Teflon tape before put it inside.
- Then just change the washer and your faucet will work properly again.
- If the main washer is affected, open the spigot and drain out all water inside it. Unscrew the packing nut and pull out the hose bib. Replace the washer and insert the hose bib into the wall again. Don’t forget to tighten the nut.
If Any Hole Found in Hose
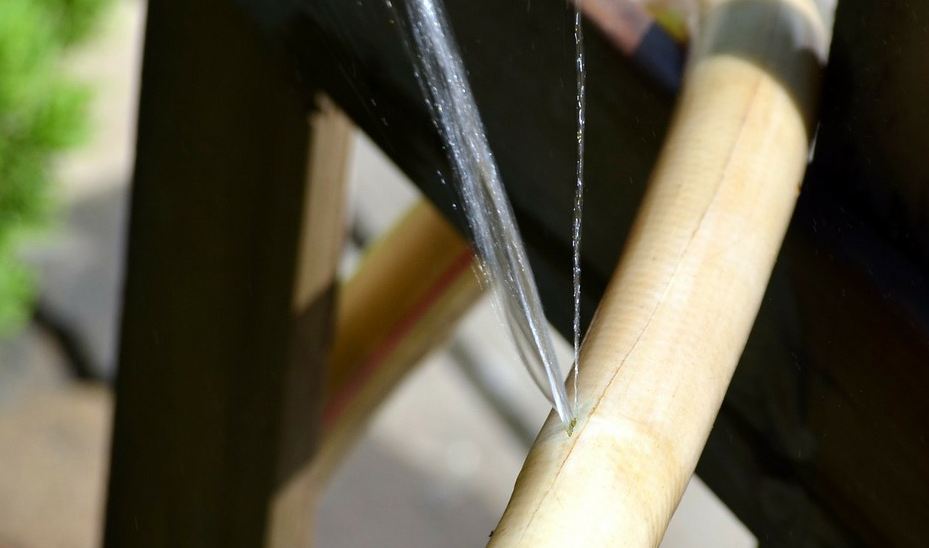
Don’t use rubber cement without thinking. Using rubber cement or glue to seal up the hole is less effective and makes the work messy. I will suggest you use a hose repair kit that contains two hose clamps and the connector which is more reliable. You need to find the correct size in the market to fix your hose at its best.
- Cut the damaged portion of the hose using garden shears.
- Slip the clamp over one of the ends and insert the connector by using a lubricant.
- Tighten the clamp with a screwdriver.
- Do the same for another end. Of the hose.
- Put connector far enough inside the hose and tighten strongly.
If the Garden Hose is Leaking From the Hose Connector
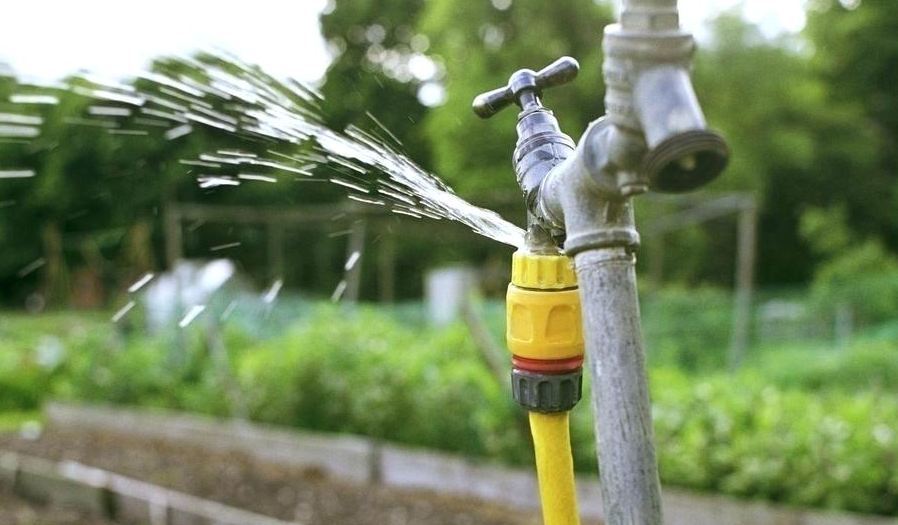
The first thing you have to do with this problem is to change the gasket. You have to seal it with an O-ring to get a better solution. If it failed to give you the expected outcome you might need leak-proof garden hose fittings immediately.
This concept of leak-proof garden hose brought a new epoch to you. Female Brass Hose Connector with Water Stop technology. After you fitted it tightly there will nothing to worry about then. The connector you are using now can be broke for often warping. If it is coming from one of the females or male end connections, you have to focus on its condition.
If the female end connection leaked and you’ve already replaced the rubber grommet or leak washer that belongs to that connection. That female connector can leak just behind where the female part turns on the brass collar when tightening to a male faucet or mail hose connection of the hose. That could be going on for the female connection isn’t tightened all the way to the washer inside of its housing.
Sometimes you can tighten it but what could happen is threads on the male connection have been cross-threaded at some point. So that the female connector is not all the way on. You might be able to continue tightening with a pair of channel locks. That will tie the male connector and stop the leak or replace the male connection or female whichever is cross-threaded or causing it to be not connecting all the way.
If it does not work then you have to take the next step. If you still find any problem in the joint of the connector, whack off that end with.
Protecting the Garden Hose
It’s better to take initiatives for protecting than repairing the hose. To protect your garden hose, you must take good care of it. So that you can save money by prolonging the life of the hose.
- Make sure there is no excess of the close faucet.
- UV rays of the sun can be the reason for damaging your hose. So keep it away from the sun.
- Use hose reels to keep safe
- Do not make it split and reroll to coil it after use.
- Store hose during winter by removing all attachments.
- You can replace your washer as soon as you find any problem.
Fixing your hose connector on your own is not only reducing your cost, but it also helps to prevent the wastage of water. So you can also save your utility bill as well. On the other hand, this is not a tough task to do. You can do it without any help from others. Just find out the leak and follow the above-mentioned steps. You may be able to stop the leak and fix the hose properly.